Crocheting a circle may seem like a daunting task, but with the right technique and a little practice, you’ll soon be creating beautiful round shapes with ease. Whether you’re looking to make a cozy coaster, a stylish hat, or a quirky amigurumi toy, mastering the art of crocheting circles is a fundamental skill every crafter should have in their repertoire. In this article, we’ll guide you through the step-by-step process of crocheting a perfect circle, so grab your hook and yarn, and let’s get started!
– Selecting the Right Yarn and Hook Size for a Perfect Circle
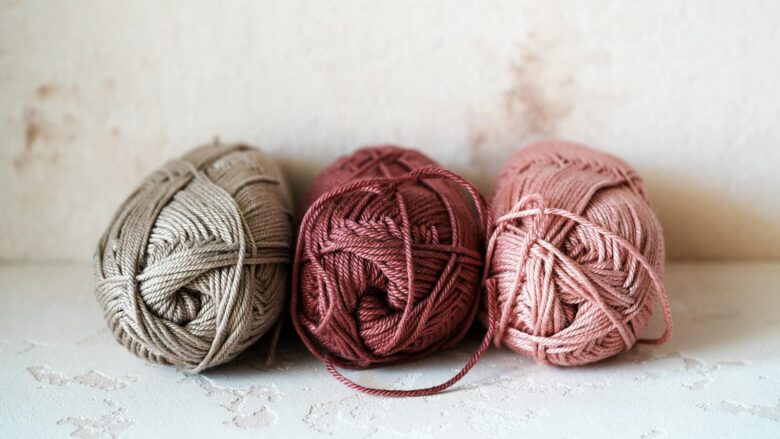
When crocheting a circle, it’s important to choose the right yarn and hook size to achieve a perfect result. The yarn weight will determine the overall size and thickness of your circle, so it’s essential to select the appropriate yarn for your project. Using a lightweight yarn will create a smaller, more delicate circle, while a heavier yarn will produce a larger, more solid circle.
Additionally, the hook size you choose will affect the tension and appearance of your circle. A smaller hook will create a tighter, denser fabric, while a larger hook will yield a looser, more open texture. Experimenting with different hook sizes can help you achieve the desired look for your circle, whether you want it to be compact and sturdy or loose and lacy.
For beginners, it’s recommended to start with a medium-weight yarn and a hook size that complements the yarn’s thickness. This combination is versatile and easy to work with, making it ideal for practicing your circle crochet technique. As you become more experienced, don’t be afraid to try different yarn weights and hook sizes to create circles with unique textures and appearances.
– Understanding Crochet Terminology and Stitch Placement for Circular Projects
When working on circular projects in crochet, it’s essential to understand the terminology and stitch placement involved. One key aspect to grasp is the concept of “working in the round,” which means crocheting in a continuous loop without turning your work. This method creates a seamless and uniform circle.
In circular crochet projects, you’ll often come across terms like magic ring or magic circle. This technique allows you to start your project with a tight center that won’t leave any holes. To create a magic ring, hold the yarn in a specific way and follow the steps to crochet the first round directly onto the ring.
Understanding stitch placement is crucial for achieving the desired shape and size in your circular projects. Each stitch needs to be placed correctly within the round to maintain the circular pattern. Common stitches used in circular crochet include single crochet, double crochet, half double crochet, and treble crochet. By following the pattern instructions and paying attention to stitch placement, you can create beautiful and symmetrical circles in your crochet work.
– Creating a Magic Circle Foundation for Seamless Crocheting
Creating a magic circle foundation for seamless crocheting is essential for starting projects like round coasters, amigurumi animals, or mandalas. This technique allows you to close the hole in the center of your work, creating a neat and tight circle to build upon. Follow these steps to learn how to crochet a circle using a magic circle:
To begin, hold the tail end of your yarn in your non-dominant hand. Take the working yarn and wrap it around your index and middle fingers to create a loop. Insert your hook underneath the first strand of yarn and grab the second strand, pulling it through the loop. This will form a ring. Pull the working yarn tight to secure the loop.
Now that you have your magic circle, start crocheting your first round by chaining one and then working a set number of stitches into the center of the ring. To close the circle, gently pull on the tail end of the yarn to tighten the loop. You can now continue crocheting around the ring, working in a continuous spiral without any visible seam. Practice this technique to perfect your circle-making skills!
– Tips and Tricks for Maintaining Consistent Tension Throughout Your Circular Piece
Maintaining consistent tension throughout your circular piece is crucial when crocheting a circle. Here are some useful tips and tricks to help you achieve a smooth and even result:
- Use the right hook size: The size of your crochet hook can greatly affect the tension of your stitches. If your tension is too tight, try using a larger hook, and if it’s too loose, switch to a smaller hook.
- Practice good yarn management: Keep your yarn organized and tangle-free to prevent uneven tension. Make sure to pull the yarn from the center of the skein for a smoother flow.
- Take breaks: Crocheting for extended periods can lead to fatigue, which can impact your tension. Remember to take breaks and stretch your hands and fingers to maintain a consistent grip on your work.
| Tip | Trick |
|---|---|
| Use the right hook size | Experiment with different hook sizes to find the one that works best for your tension. |
| Practice good yarn management | Ensure your yarn doesn’t get tangled or knotted to maintain an even tension throughout your project. |
| Take breaks | Rest your hands and fingers to prevent fatigue and maintain a consistent grip on your work. |
Final Thoughts
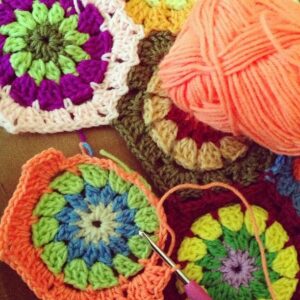
As you continue on your crochet journey, mastering the art of creating circles opens up a world of possibilities. From intricate doilies to colorful mandalas, the circle stitch is a versatile technique that can add beauty and dimension to your projects. So grab your hook and yarn, and let your creativity run wild as you crochet circles with ease. Remember, practice makes perfect, so don’t be afraid to experiment and make mistakes along the way. Happy crocheting!


