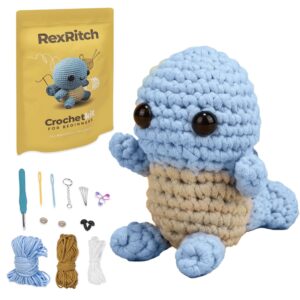
In the world of DIY fashion, there is a timeless appeal to handcrafted accessories. One of the most popular items to create is a crocheted hat. With just a few basic tools and some yarn, you can easily make a cozy and stylish hat that is perfect for keeping warm in the colder months. In this guide, we will walk you through the step-by-step process of how to crochet a hat, from choosing the right yarn to finishing off your final stitches. Whether you are a beginner or a seasoned crocheter, this project is a fun and rewarding way to show off your crafting skills.
Choosing the Right Yarn and Hook Size
When it comes to crocheting a hat, selecting the right yarn and hook size is crucial for achieving the perfect size, texture, and overall look of the finished product. Your choice of yarn will determine the warmth, weight, and drape of the hat, while the hook size will affect the stitches’ tension and the overall size of the project.
For a cozy winter hat, opt for a bulky yarn such as Lion Brand Wool-Ease Thick & Quick and pair it with a size N/P (10mm) hook for a chunky, textured finish. If you prefer a lightweight, breezy summer hat, consider using a thinner yarn like Bernat Softee Cotton with a size G (4.25mm) hook for a breathable, airy design. Experiment with different yarn weights and hook sizes to find the perfect combination for your desired hat style.

Mastering Basic Stitches for Hat Making
When it comes to crocheting a hat, mastering basic stitches is essential for creating a beautifully crafted piece. By understanding and practicing these fundamental techniques, you will be well on your way to creating stylish and cozy hats for yourself or loved ones.
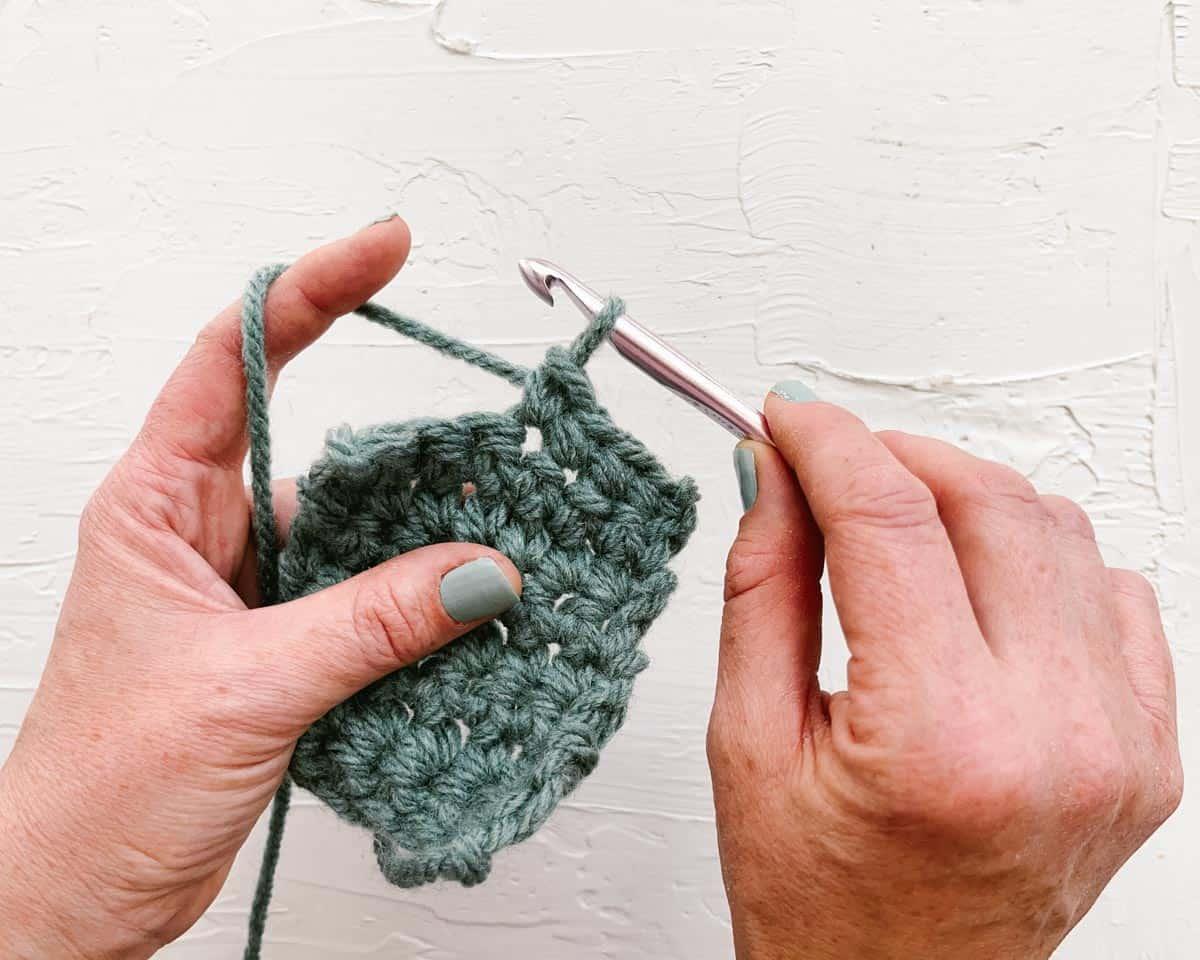
Start by familiarizing yourself with basic crochet stitches such as chain stitch, single crochet, double crochet, and slip stitch. These stitches will form the foundation of your hat-making project. Experiment with different combinations and patterns to create unique designs that showcase your creativity and skills.
Following a Crochet Hat Pattern
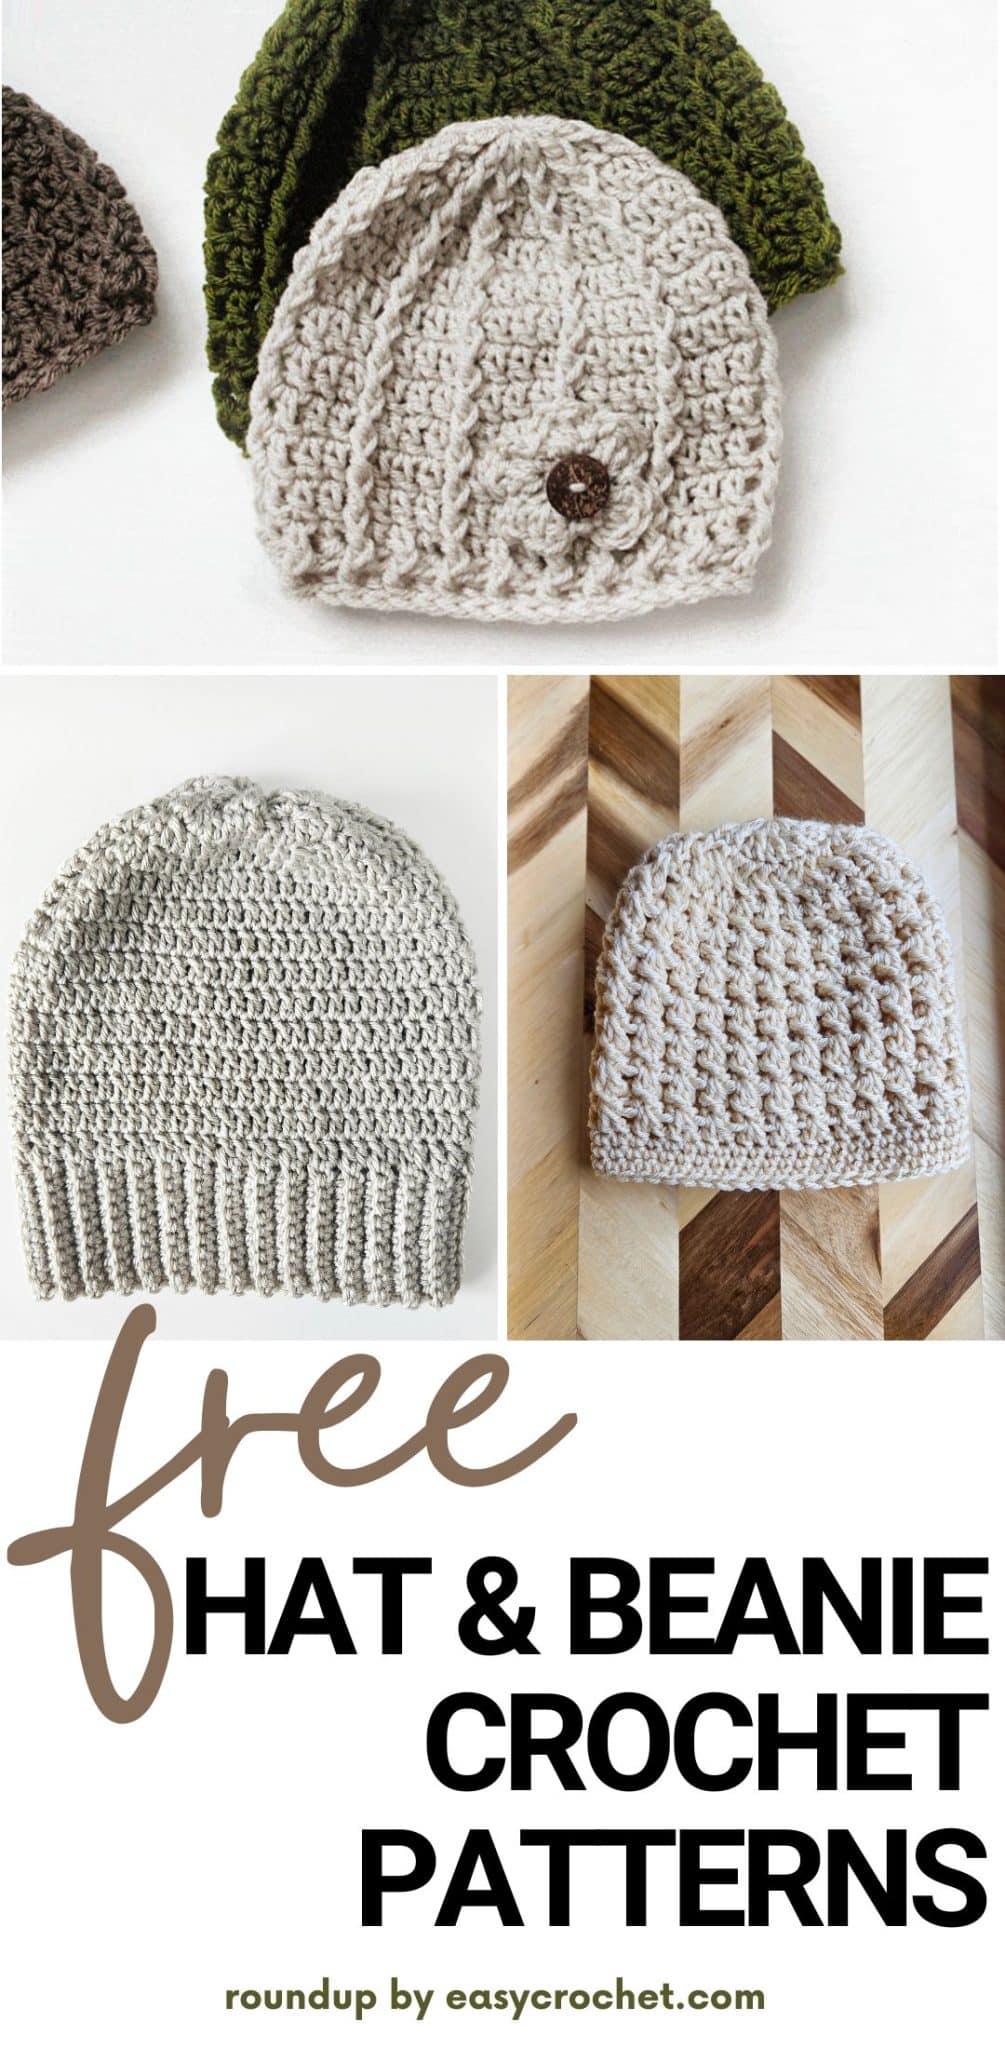
When , it’s important to carefully read through the instructions before starting. Make sure you have all the necessary materials, including the correct yarn weight and hook size. Begin by creating a slip knot and chaining the required number of stitches to form the circumference of the hat. Join the chain to form a ring, being careful not to twist it.
Next, work in rounds as indicated in the pattern, following the specified stitch combinations and increases or decreases to shape the hat. Use markers to keep track of the beginning and end of each round. Once you reach the desired length, finish off the hat by fastening off and weaving in any loose ends. add any embellishments or finishing touches to personalize your creation.
Customizing Your Crochet Hat Design
When , the possibilities are endless. You can experiment with different stitches, colors, and embellishments to create a unique and personalized hat that reflects your style. One way to customize your hat is by adding a fun pom-pom or tassel to the top for a playful touch. You can also incorporate stripes, chevron patterns, or even crochet letters to spell out a word or name on your hat.
Another way to customize your crochet hat design is by adjusting the size and fit. You can easily modify the pattern to make the hat larger or smaller, depending on your head size or personal preference. Additionally, you can play around with the brim length or style to create a hat that suits your face shape. Whether you prefer a snug beanie or a slouchy hat, the choice is yours when it comes to customizing your crochet creation.
Future Outlook
As you bring the final stitch together, you can admire the unique creation that now rests in your hands - a hat that not only warms your head but also warms your heart with the satisfaction of a job well done. Crocheting a hat is not just a craft, but a journey of creativity and self-expression. So go ahead, pick up your hook, choose your favorite yarn, and let your imagination run wild as you embark on your own hat-making adventure. Happy crocheting!


