Crocheting is a wonderful craft that allows you to create beautiful and intricate pieces of art with just a simple hook and some yarn. One of the most popular projects for beginners and experienced crocheters alike is the crochet flower. Whether you want to add a touch of spring to your accessories or create a bouquet that will last forever, learning how to crochet a flower is a fun and rewarding skill to have in your crafting repertoire. In this article, we will guide you through the step-by-step process of crocheting a lovely flower that will brighten up any project. Let’s dive in and get crocheting!
– Choosing the right yarn and hook size for a perfect crochet flower
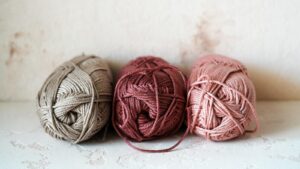
Choosing the right yarn: Selecting the perfect yarn for your crochet flower is essential for achieving a beautiful result. Opt for a lightweight yarn with a smooth texture, such as cotton or acrylic, to make your flower stand out. Consider the color of the yarn as well, as bright and vibrant hues will make your flower pop.
Hook size: The size of your crochet hook will determine the size and shape of your flower. Choose a hook size that is appropriate for the yarn you are using – a smaller hook will create a tighter, more intricate flower, while a larger hook will result in a looser, more open design. Experiment with different hook sizes to achieve the desired look for your flower.
Combining yarn and hook size: When combining yarn and hook size, keep in mind that different combinations will produce different effects. A thicker yarn with a larger hook will create a larger flower with more texture, while a finer yarn with a smaller hook will result in a daintier, more delicate flower. Adjust your yarn and hook size accordingly to achieve the perfect crochet flower for your project.
– Step-by-step guide to creating intricate petals and leaves
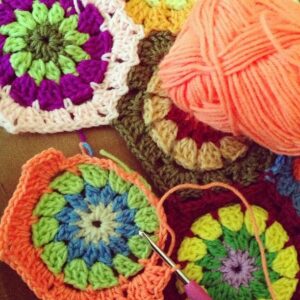
First, start by choosing your favorite yarn color for the flower. You will also need a crochet hook that matches the yarn weight you’ve selected.
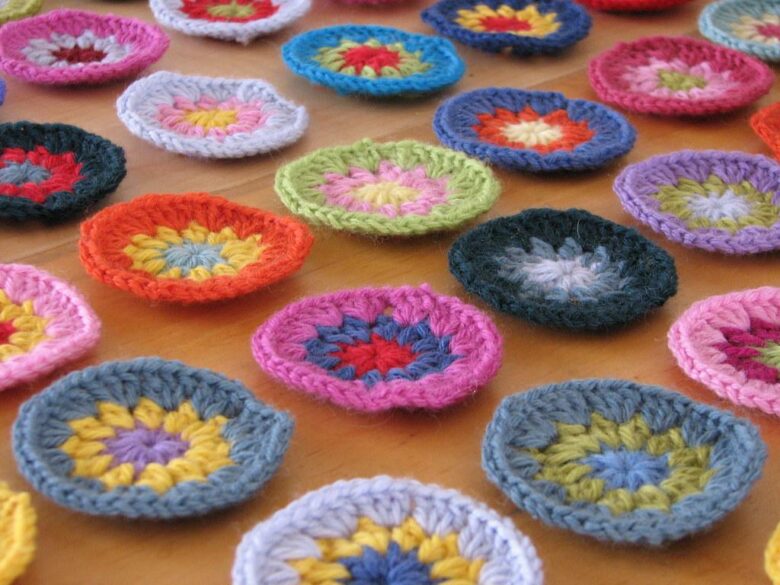
Begin by crocheting a magic ring and securing it with a slip stitch. Then, chain 3 (this will count as your first double crochet) and make 11 double crochets into the magic ring. Slip stitch to the top of the beginning chain 3 to close the round.
Next, **create intricate petals** by chaining 3, skipping a stitch, and double crocheting 5 times into the next stitch. Chain 3 and slip stitch into the same stitch to form a petal. Repeat this pattern around the circle, creating as many petals as you desire. For the leaves, crochet a chain of 10 stitches, turn and single crochet back down the chain, adding a picot stitch at the end for a leafy texture. Attach the leaves to the base of the flower for a realistic touch.
– Tips for embellishing your crochet flower with beads and buttons
When it comes to adding a touch of elegance to your crochet flowers, beads and buttons are the perfect embellishments. Here are some tips on how to effectively incorporate beads and buttons into your crochet flower designs:
1. Choose the right beads and buttons:
- Select beads and buttons that complement the colors of your yarn and add visual interest to your crochet flower.
- Consider the size of the beads and buttons relative to the size of your flower – larger beads and buttons can make a bold statement, while smaller ones can add delicate detail.
2. Sew on beads and buttons strategically:
- Use a needle and thread to securely attach beads and buttons to your crochet flower.
- Carefully plan where you want to place the beads and buttons to create a balanced and harmonious design.
3. Experiment with different arrangements:
- Don’t be afraid to get creative and try out different patterns and placements of beads and buttons on your crochet flower.
- Mix and match different sizes and colors of beads and buttons to create unique and eye-catching designs.
– Finishing touches: securing ends and shaping your flower masterpiece
After you have completed crocheting all the petals of your flower, it’s time to add the finishing touches to make it look like a masterpiece. Start by securing all the loose ends of yarn from each petal. You can do this by weaving the ends into the back of your work using a yarn needle. This will ensure that your flower doesn’t unravel over time and will give it a polished look.
Once all the ends are secure, you can now shape your flower to give it dimension and depth. Gently pull and stretch the petals to make them more three-dimensional. You can also use your fingers to shape the petals into a more natural curve. Don’t be afraid to play around with the shape until you are happy with the result.
For a final touch, you can add a button or bead to the center of your flower to give it a focal point. Sew it securely in place using a matching thread or yarn. This little detail can elevate your crochet flower to the next level and make it stand out even more. Once you are satisfied with how your flower looks, admire your handiwork and enjoy your beautiful creation!
Wrapping Up
As you finish weaving in the final thread and admiring your newly crocheted flower, take a moment to appreciate the beauty of your creation. Crafting these intricate and delicate blooms can be a soothing and fulfilling experience, allowing you to unleash your creativity and add a touch of handmade charm to any project. Whether you’re a seasoned crocheter or a beginner looking to try something new, the art of crocheting flowers is a delightful skill to master. So pick up your hook, choose your yarn, and let your imagination blossom with each stitch. Happy crocheting!