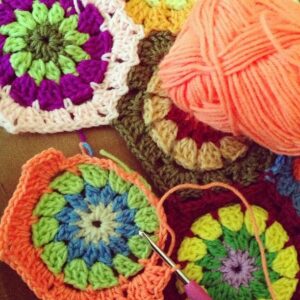
Have you ever marveled at the intricate designs and beautiful creations that can be made with just a simple hook and some yarn? Crocheting is a timeless art form that allows you to unleash your creativity and create stunning pieces of art. But before you can dive into more advanced crochet patterns, you’ll need to master the basics, starting with the humble crochet chain. In this article, we’ll guide you through the steps of starting a crochet chain, so you can begin your crochet journey with confidence and skill.
– Understanding the Basics: What is a Crochet Chain and Why is it Important?
When it comes to crochet, the chain stitch is the foundation of all projects. It is the starting point for almost every crochet pattern, creating a base from which you build your rows of stitches. Mastering the crochet chain is essential for any crochet project, whether you are a beginner or a seasoned crocheter.
Importance of the Crochet Chain:
- The crochet chain sets the length of your project, determining the width of your work.
- It provides the structure for your crochet project by creating a stable foundation.
- The chain stitch acts as a guide for where to place your subsequent stitches, helping to keep your project on track.
Starting a crochet chain is simple, but it is crucial to get it right in order to have a successful project. To begin, create a slip knot on your hook and then proceed to make chains by yarning over and pulling through the loop on your hook. Practice makes perfect, so take your time and get comfortable with creating a neat and even chain before moving on to more advanced stitches.
- Step-by-Step Guide: How to Create a Crochet Chain with Precision and Consistency
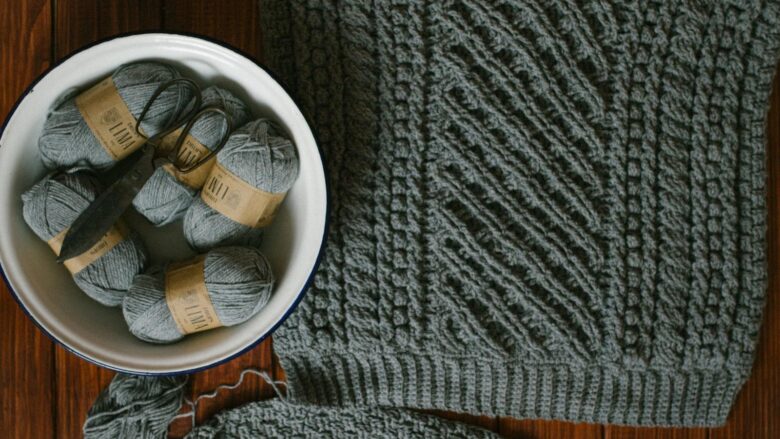
Begin by selecting your yarn and crochet hook. For beginners, it’s recommended to choose a medium weight yarn and a hook size that corresponds to the yarn label. Once you have your materials ready, follow these step-by-step instructions to create a crochet chain with precision and consistency:
- Hold the crochet hook in your dominant hand and make a slip knot at the end of the yarn. Insert the hook into the slip knot and tighten the loop around the hook.
- Using your non-dominant hand, create a loop with the yarn and wrap it around the hook. Pull the yarn through the slip knot to create your first chain stitch.
- Continue this process until you have reached the desired length of your chain. Remember to keep your tension consistent to ensure that each stitch is the same size.
Practice makes perfect when it comes to creating a crochet chain. Don’t be discouraged if your first attempts aren’t perfect – the more you practice, the better your chains will become. Once you’ve mastered the basics of creating a chain, you’ll be ready to move on to more advanced crochet stitches and patterns.
– Useful Tips and Tricks: Enhancing Your Crochet Chain Technique for a Flawless Finish
When starting your crochet project, the first step is mastering the art of creating a flawless crochet chain. This foundational skill sets the stage for the rest of your work, so it’s important to get it right from the beginning. Follow these useful tips and tricks to enhance your crochet chain technique and achieve a polished finish on your project.
First, ensure that you are using the correct size crochet hook for your yarn. A hook that is too small will make it difficult to work with, while a hook that is too large may result in loose, sloppy chains. Experiment with different hook sizes until you find the one that works best for you and your project.
Next, pay attention to your tension when creating your crochet chain. A consistent tension throughout your work will result in an even and professional look. Practice maintaining a steady tension as you work, and don’t be afraid to unravel and start again if your chains are too tight or too loose. With time and practice, you will develop a smooth and controlled technique that will enhance the overall quality of your crochet work.
– Troubleshooting Common Issues: Dealing with Tension Problems and Uneven Stitches
When starting a crochet chain, it is essential to begin with a slip knot. This will be the first loop on your hook and will serve as the foundation for your chain. To create a slip knot, wrap the yarn around your fingers to form a loop, then insert your hook and tighten the loop.
Next, you will need to yarn over, which means wrapping the yarn around your hook. With the slip knot on your hook, wrap the yarn over the hook from back to front. Make sure to keep a firm hold on the yarn to maintain tension as you proceed.
After yarning over, pull the yarn through the slip knot to create your first chain stitch. Repeat this process for each additional chain stitch, making sure to keep the stitches uniform in size and tension. Remember to practice and take your time to ensure your crochet chain is smooth and even.
In Summary
And there you have it, the fundamental skill of starting a crochet chain. With just a few simple steps, you can begin your crochet journey and create beautiful pieces filled with creativity and warmth. Remember to practice and have patience as you master this technique. Now, pick up your hook and yarn, and let your imagination run wild with possibilities. Happy crocheting!